Appearance
Add textures to an existing Mod - With Commands:
Prerequisites:
- You need to have a GitHub account first.
- You need to have
gitinstalled on your machine. - You need to be logged to
gitwith your GitHub account, see how here.
Step by Step:
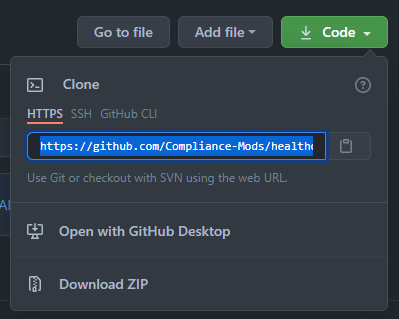
- Firstly find your Mod repository in our organization, then find the repository
HTTPSand use those commands in a shell:
shell
$ git clone <git url>Note: If the mod repository is not in the Faithful Mods Organization, check this file to see where is the repository located.
- Change your local branch to the one you wants to add changes:
shell
$ git checkout <branch>Note: Be aware to be in the right folder when checking the branch, move to the cloned repository using
cd ./<repository name>Note: If the branch doesn't exist, create a new one usinggit branch <new-branch>first, the new branch will be based on the actual branch
Your local repository should now looks like the image below, you can now edit/add textures locally.

Once you are done with editing/adding textures, you can commit and push your changes to the online repository:
shell
  # add all modified files to the commit, you can replace the * with exact name if you want to push only some files
  $ git add * # or: $ git add -A
  # make the commit: (that's a string, "" are required)
  $ git commit -m "commit title here"
  # push it to the given branch: (you need to be logged with your GitHub account and have the rights to push!)
  $ git push -u origin <branch>
See changes applied to the GitHub repository, Enjoy!
Some useful
gitcommands:
shell
  # show the difference between your local files and git ones
  $ git status
  # delete a branch
  $ git branch -d <branch>
  # create & switch to this branch (1 line instead of 2)
  $ git checkout -b <new branch>
  # update from the remote repository
  $ git pull
Please, do not merge branches, never ⚠️